Building a smart fan controller with Raspberry Pi
Choosing Sensors
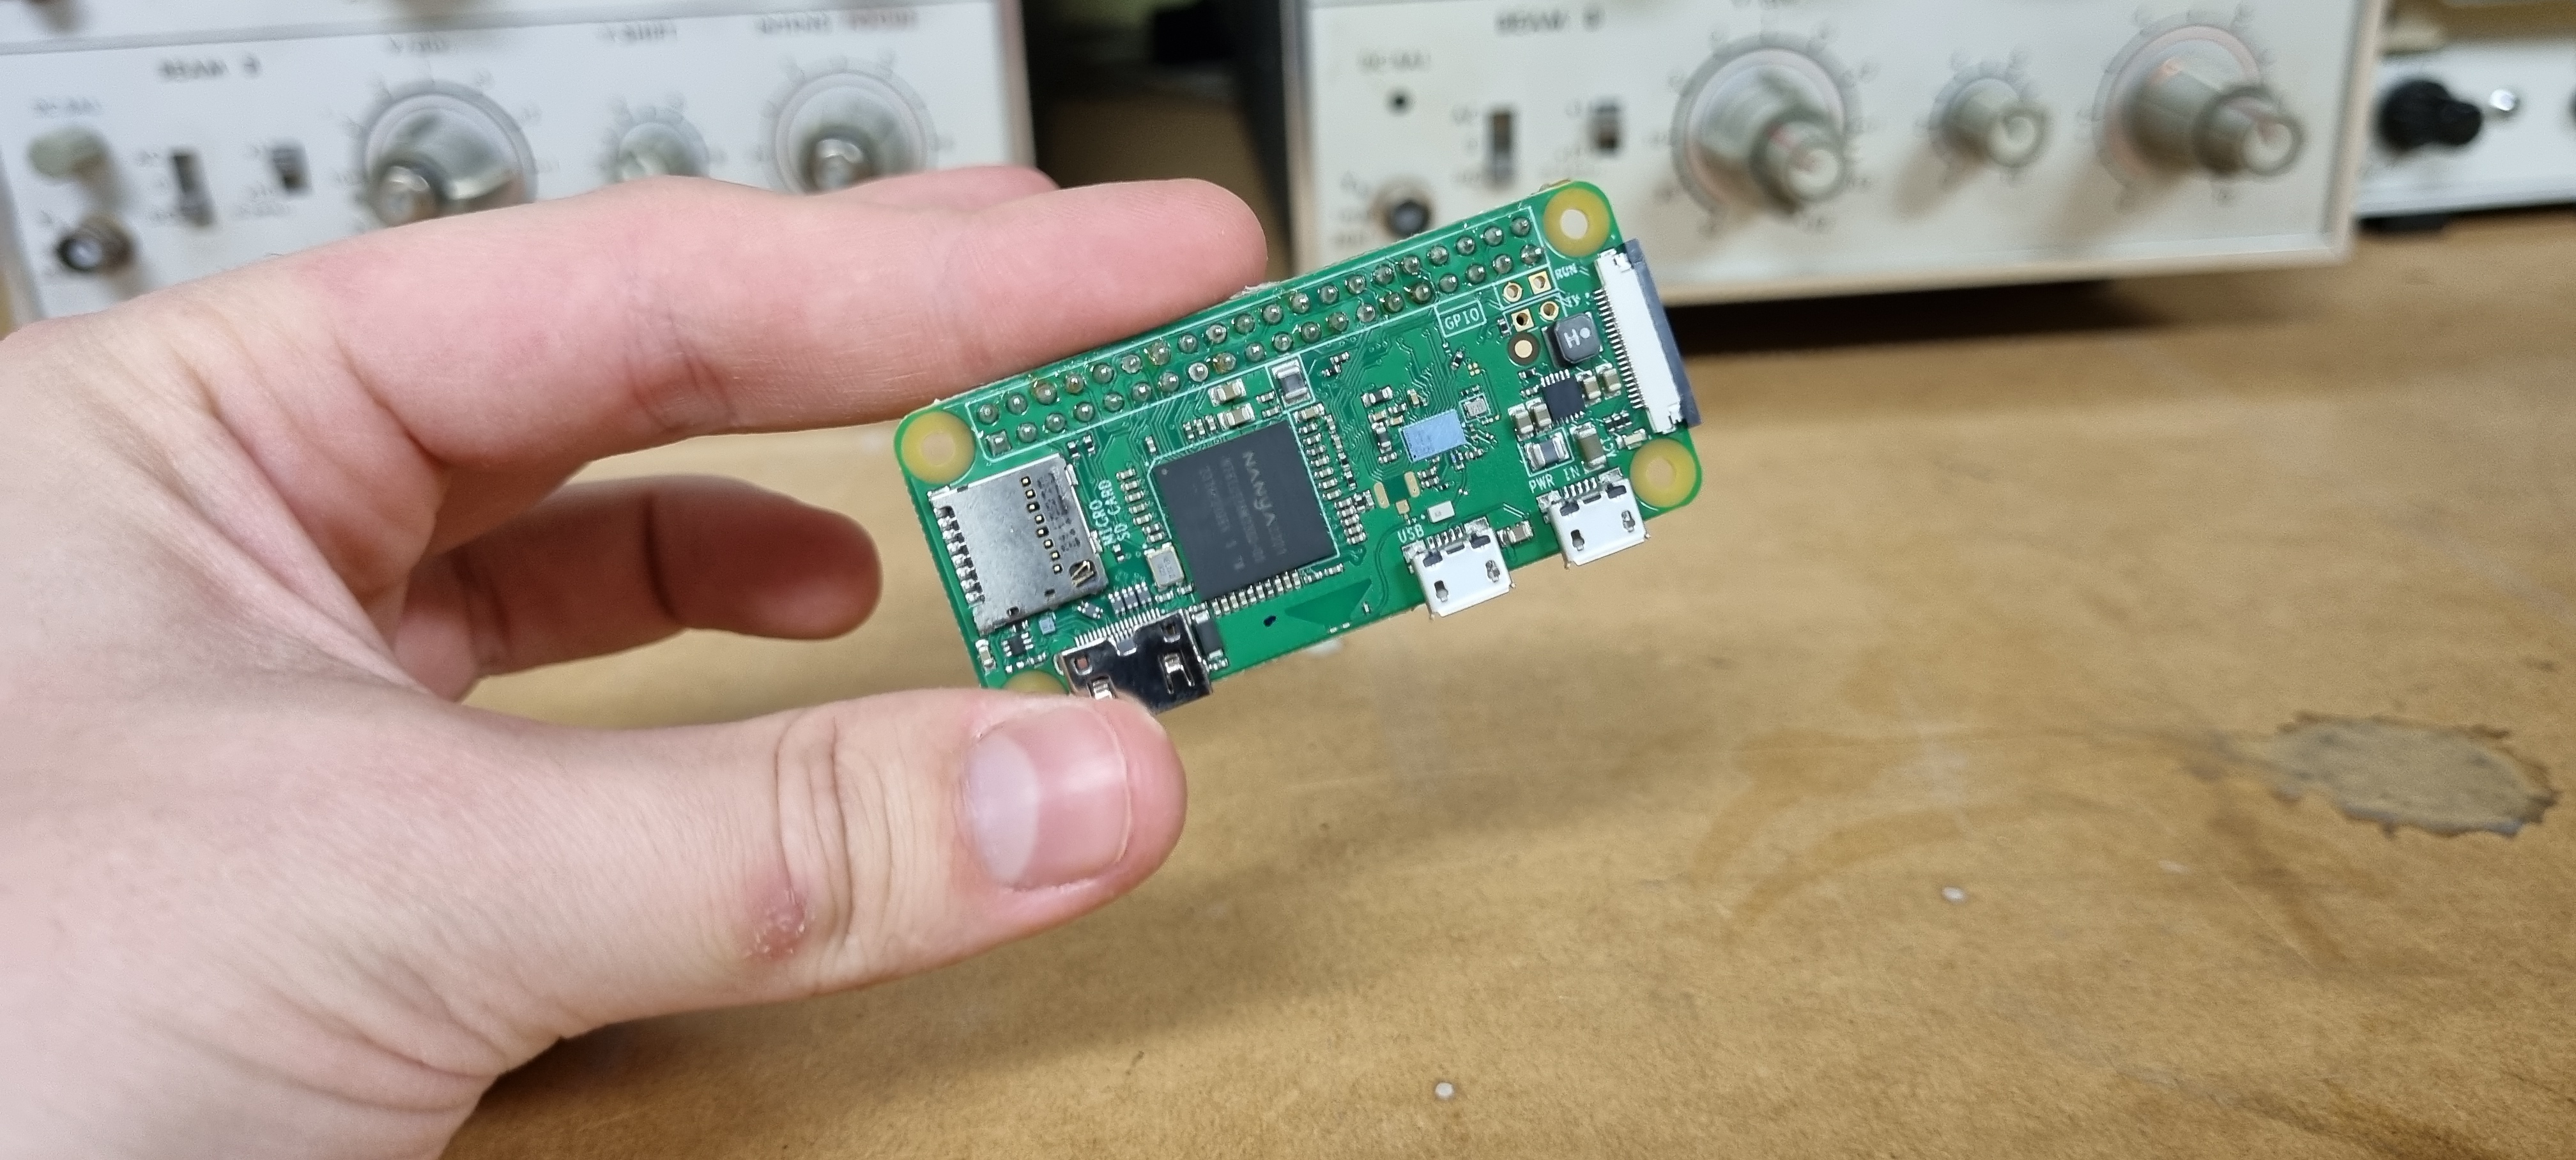
My first thought for this setup was to use a Raspberry Pi. The Pi offers an easy interface for programming, lots of support and documentation, and is affordable—especially the Pi Zero variants, which are compact and cost-effective options.

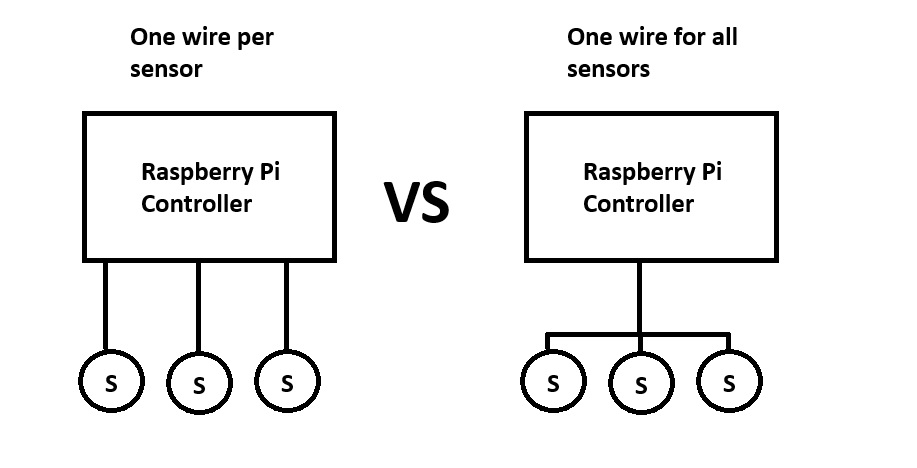
With the controller chosen, the next step is sensors. After some research, I found that the Dallas 1-Wire protocol is a practical, low-cost option for this kind of setup. This protocol allows you to connect multiple sensors along a single length of wire with just three connections: power (3-5V), ground, and signal. It's efficient because I can use a single wire to connect all my sensors in parallel, making it very cost-effective and reducing cabling needs.
One challenge with the 1-Wire approach is that, since it lacks a dedicated clock (CLK) signal, it's sensitive to electrical noise and capacitance. So, to make this setup work smoothly, I'll need to keep cable lengths short and minimize interference.
The main reason I like 1-Wire for this project is that it lets me connect multiple sensors without using a separate set of wires for each one. Otherwise, each sensor would need its own GPIO pins on the Raspberry Pi, quickly running out of available pins and adding wiring complexity. With 1-Wire, I only need a few GPIO connections, making setup simpler and more flexible.

Another plus is that 1-Wire sensors are usually very affordable. I started looking at the DS18B20 temperature sensor, a widely used, low-cost option that's compatible with the 1-Wire protocol. However, finding a compatible, low-cost humidity sensor was challenging. Most humidity sensors I found weren't 1-Wire compatible, meaning each would require dedicated pins and wiring on the Pi, which defeated the simplicity of the 1-Wire system.
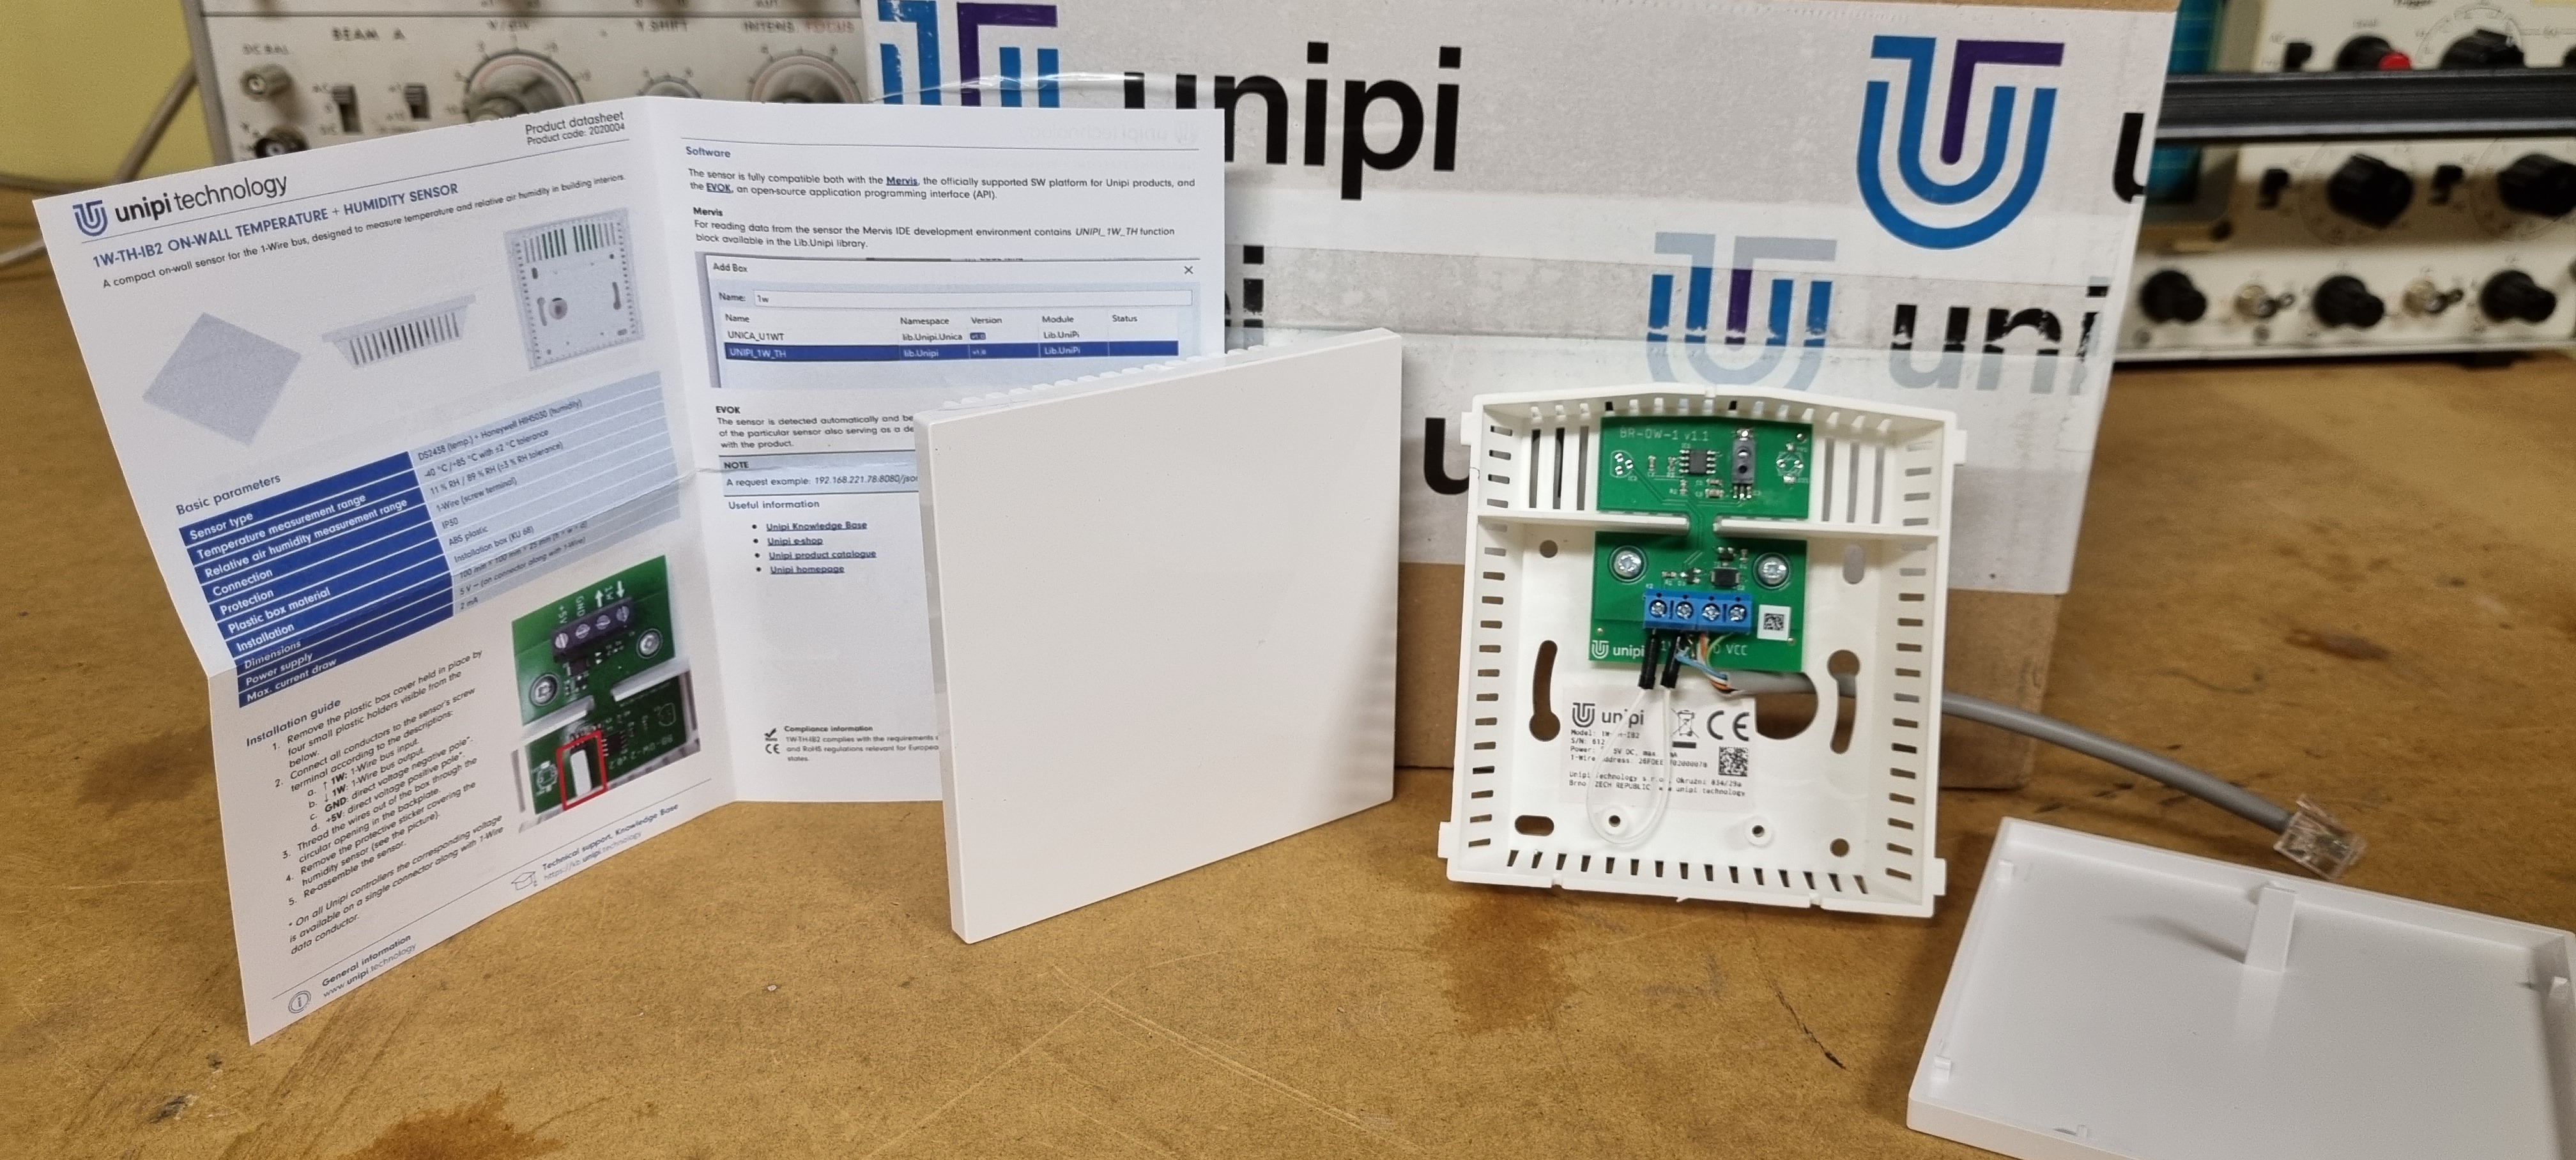
Just when I was about to give up on 1-Wire for humidity sensing, I came across the 1W-TH-IB2 sensor from UniPi. This sensor measures both humidity and temperature and is specifically designed for Raspberry Pi applications—exactly what I needed! Now I no longer even need the separate DS18B20 sensor.

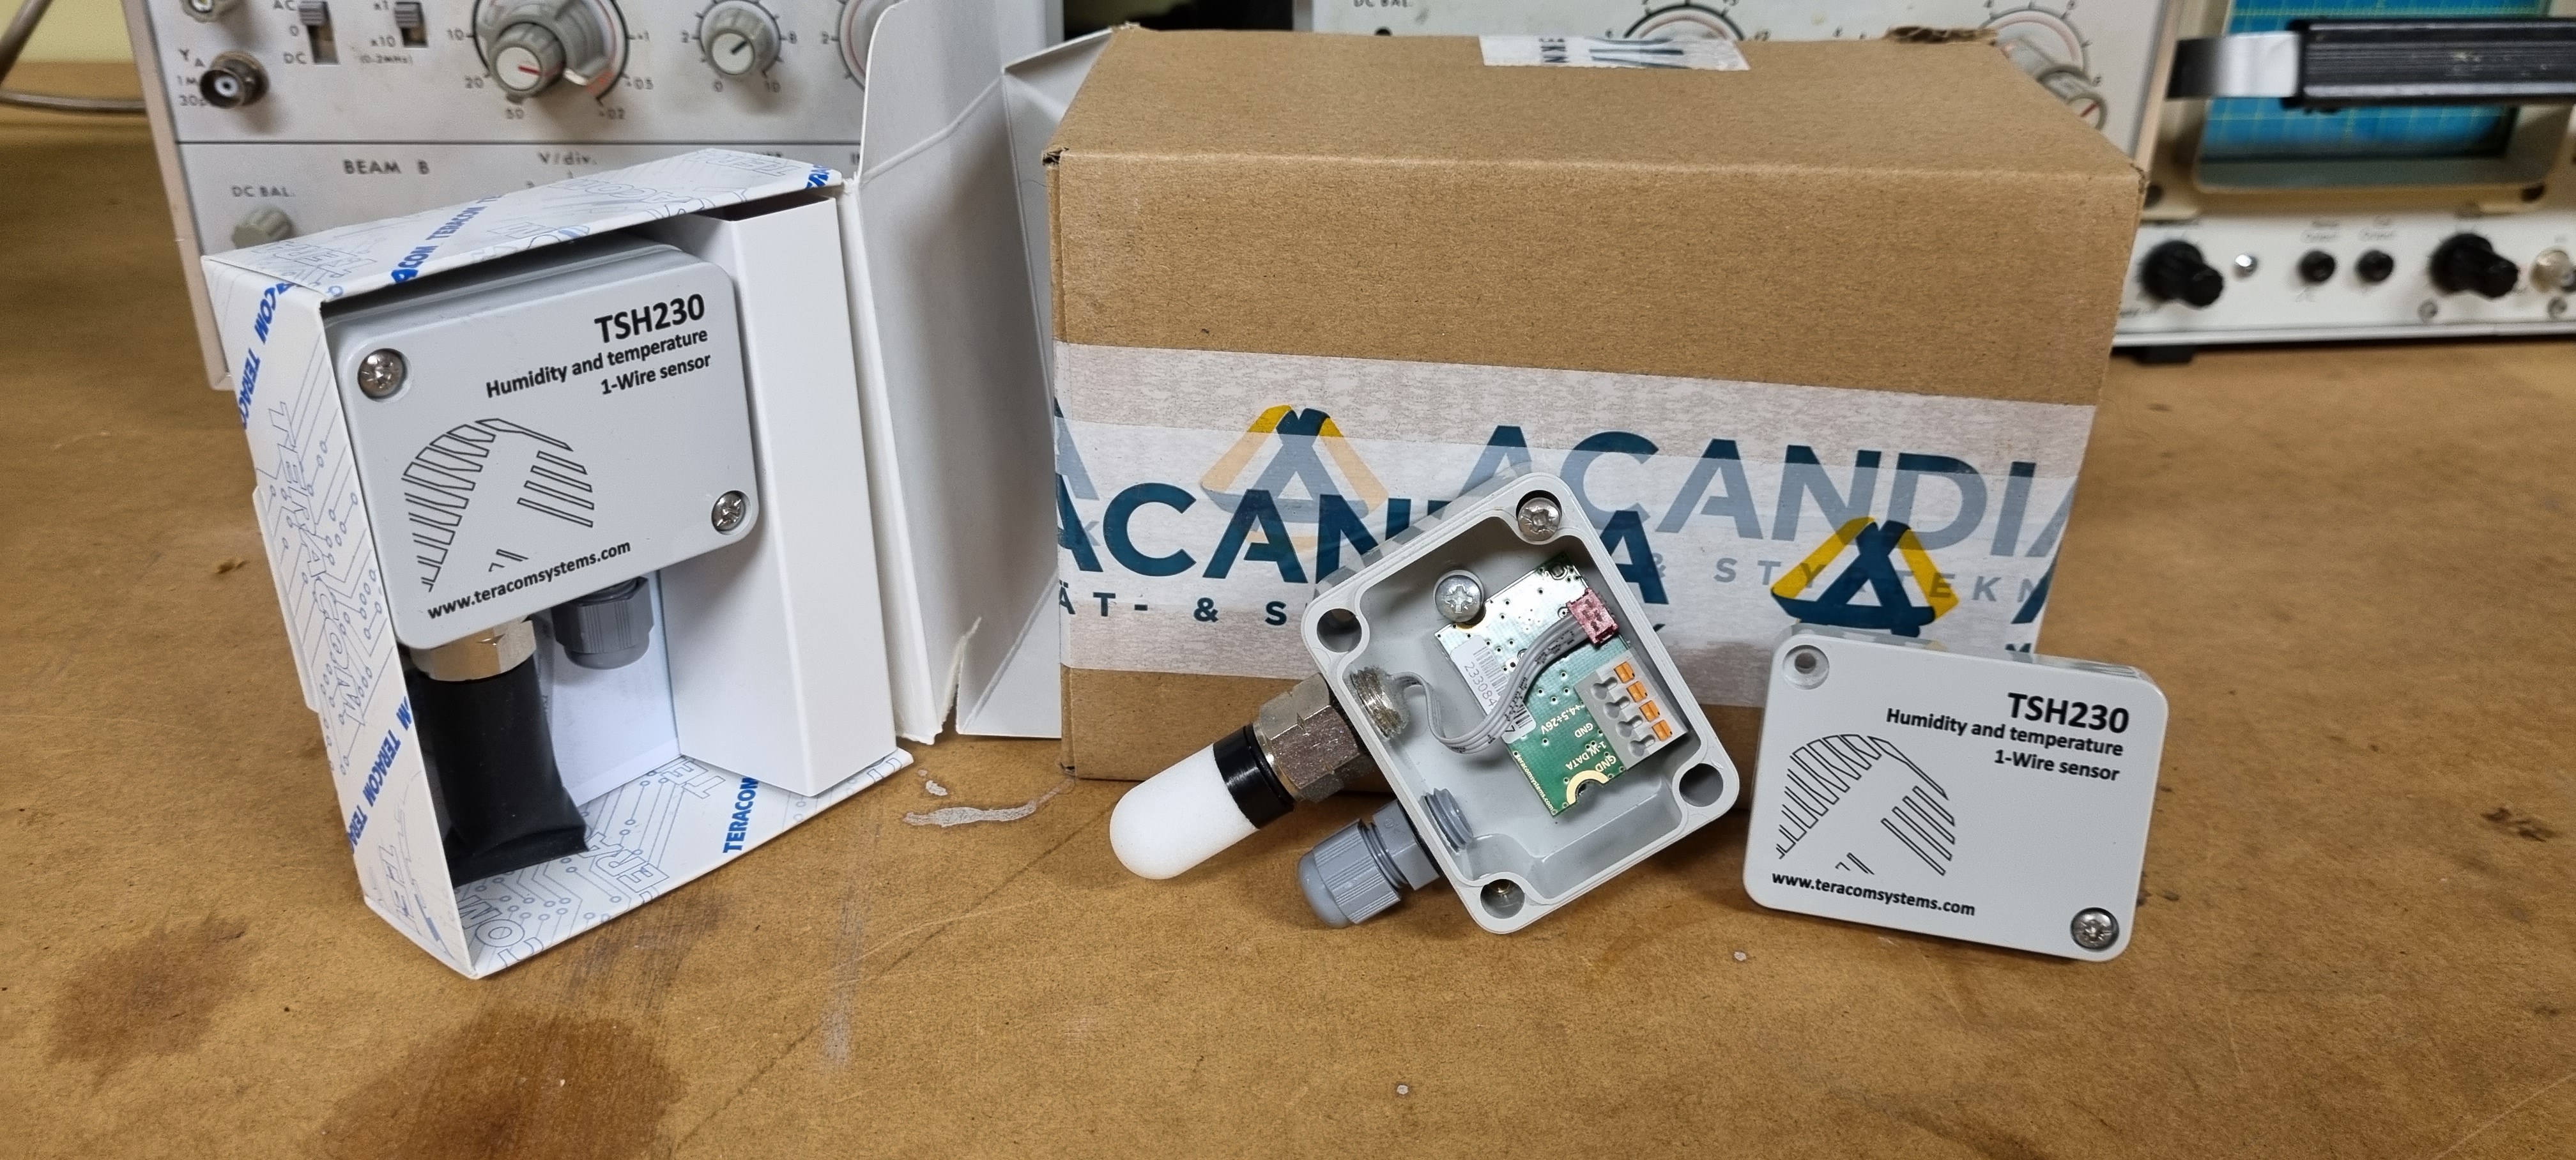
One minor issue is that the UniPi sensor is designed for indoor use, and I also need to measure outdoor conditions. After another round of searching, I found the TSH230 humidity sensor from Teracomsystems. This ruggedized sensor is suitable for outdoor use (with some protection), measures both temperature and humidity, and is compatible with the 1-Wire protocol. While it's more expensive than the UniPi sensor, it seems to be the best option for outdoor applications.
