Turning a CRT TV into an audio-visual oscilloscope
Finding the Perfect CRT TV-Radio
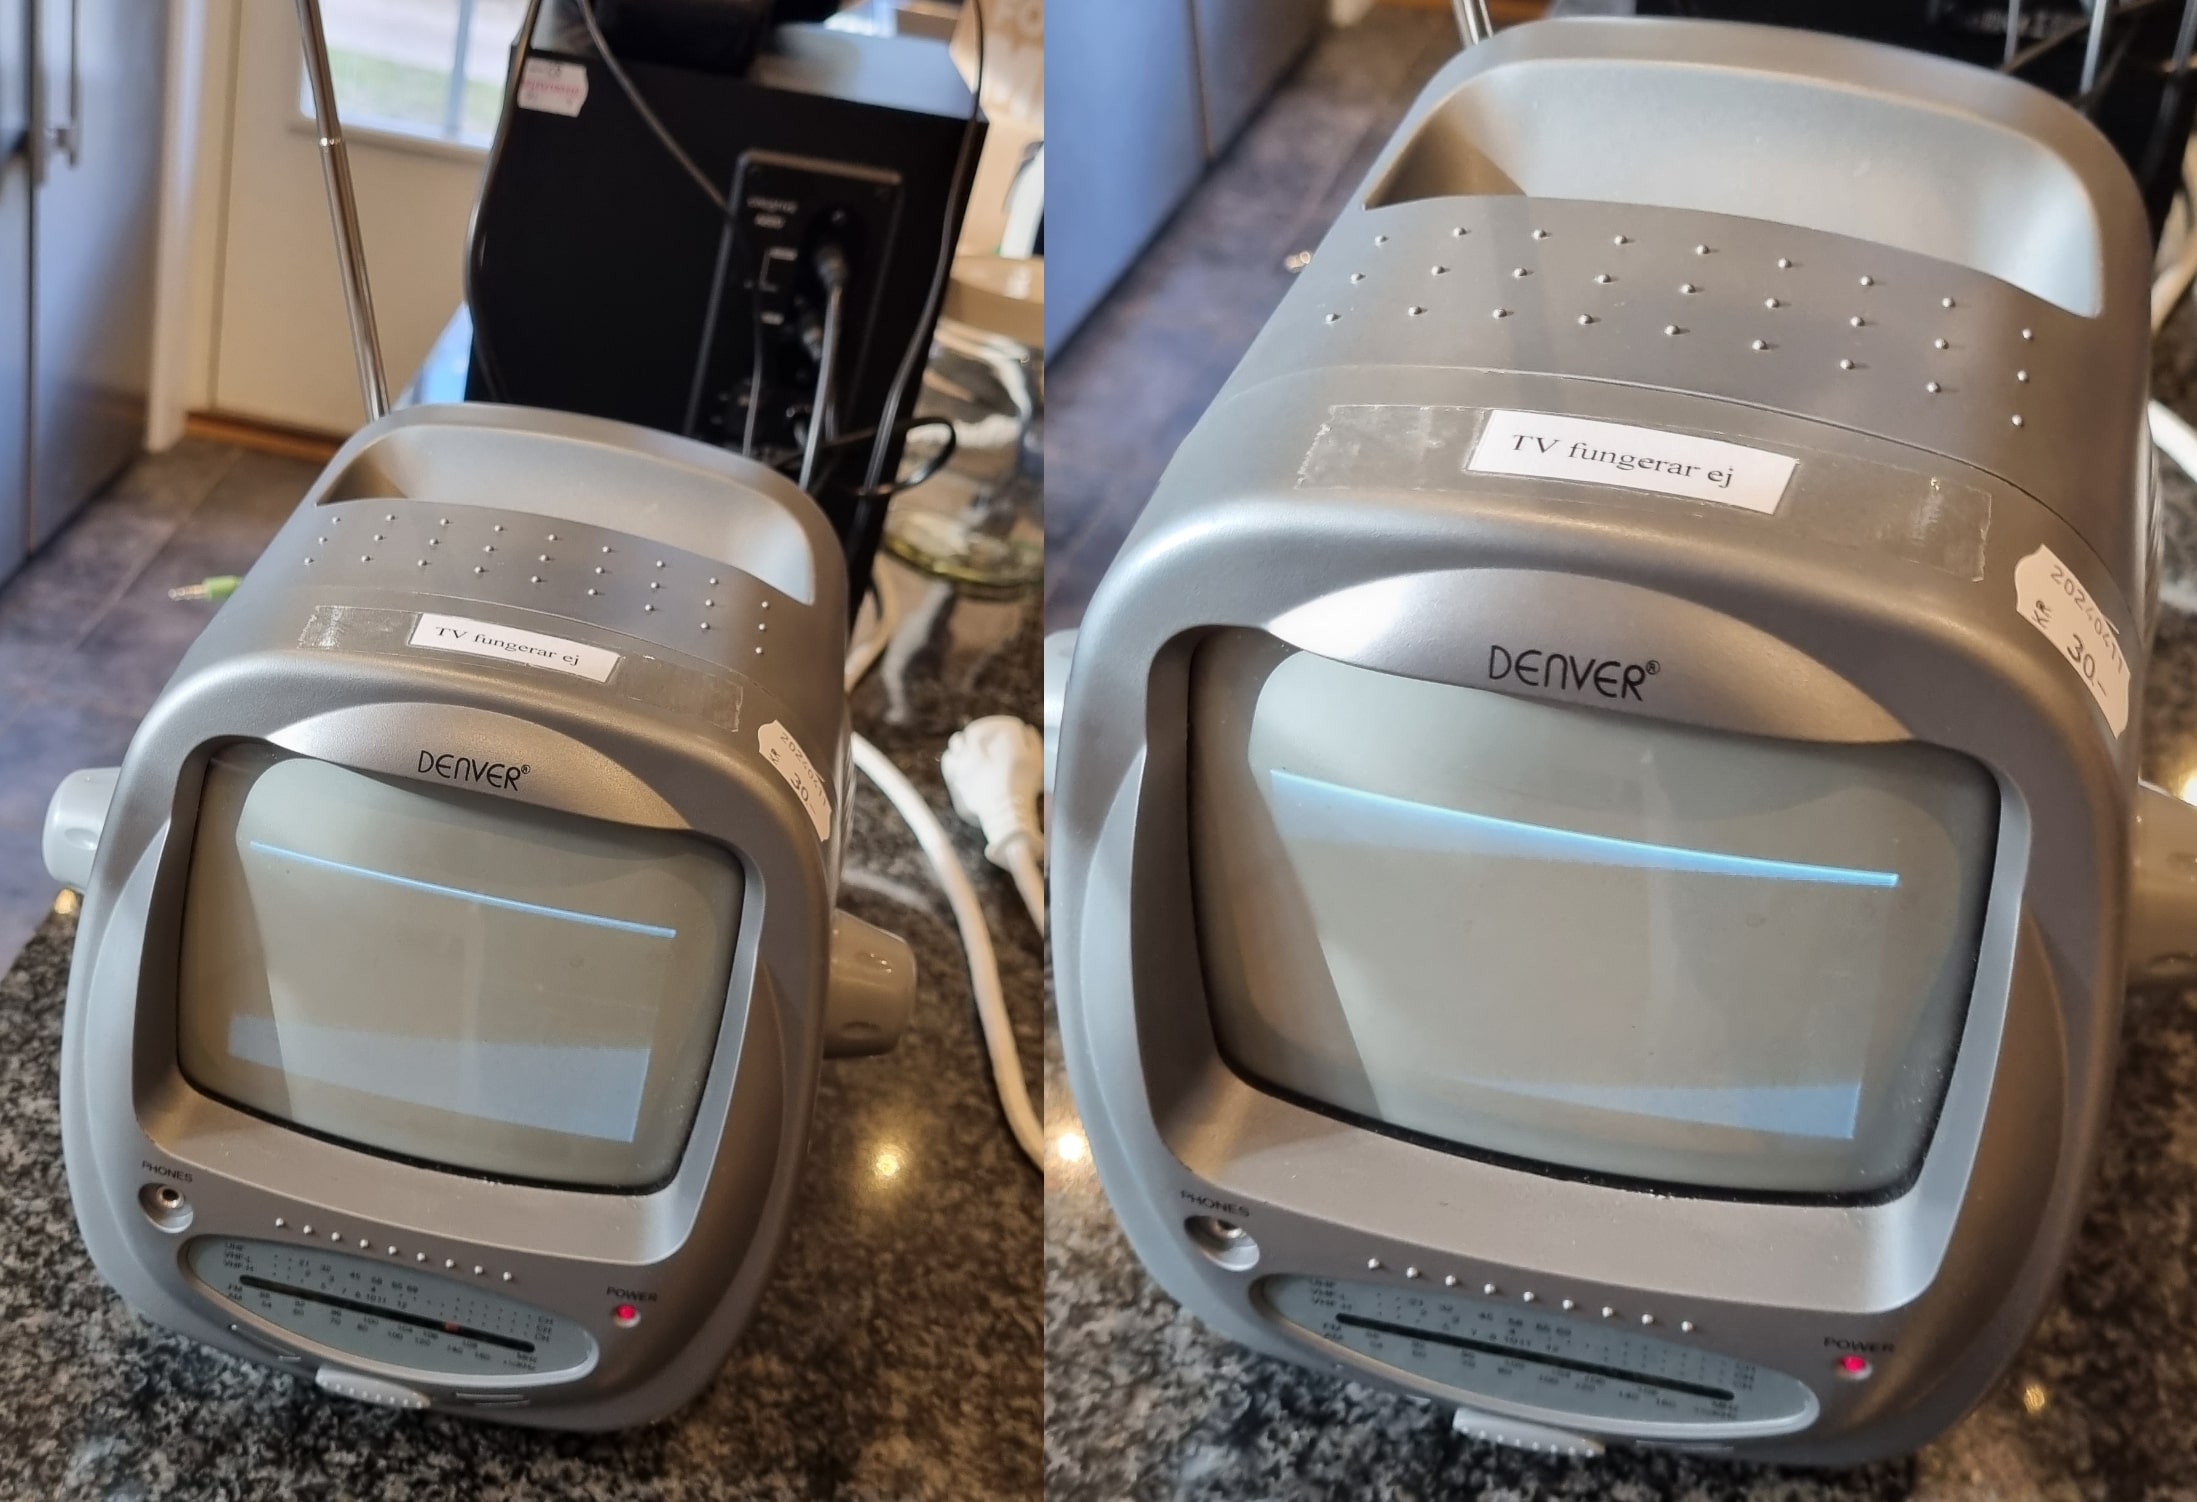
I was browsing a larger second-hand store and flea market when I wandered into the electronics section. That's where I found a small TV-radio combo with a CRT tube inside. Right away, I thought, " This could make a perfect little oscilloscope!" I had been considering doing something like this with a TV for a while, but most of them are way too big and bulky to work with. This smaller, compact TV-radio was exactly what I needed for the project—and it was only 30kr!

The label said the TV wasn't working, but I figured I could get something out of it regardless, especially since it was battery-powered. So, I brought it home and popped in some batteries to see what was going on. Sure enough, the TV didn't work properly. The screen was really dim, and it was just scanning left to right with gaps in between—but hey, that was better than I expected!
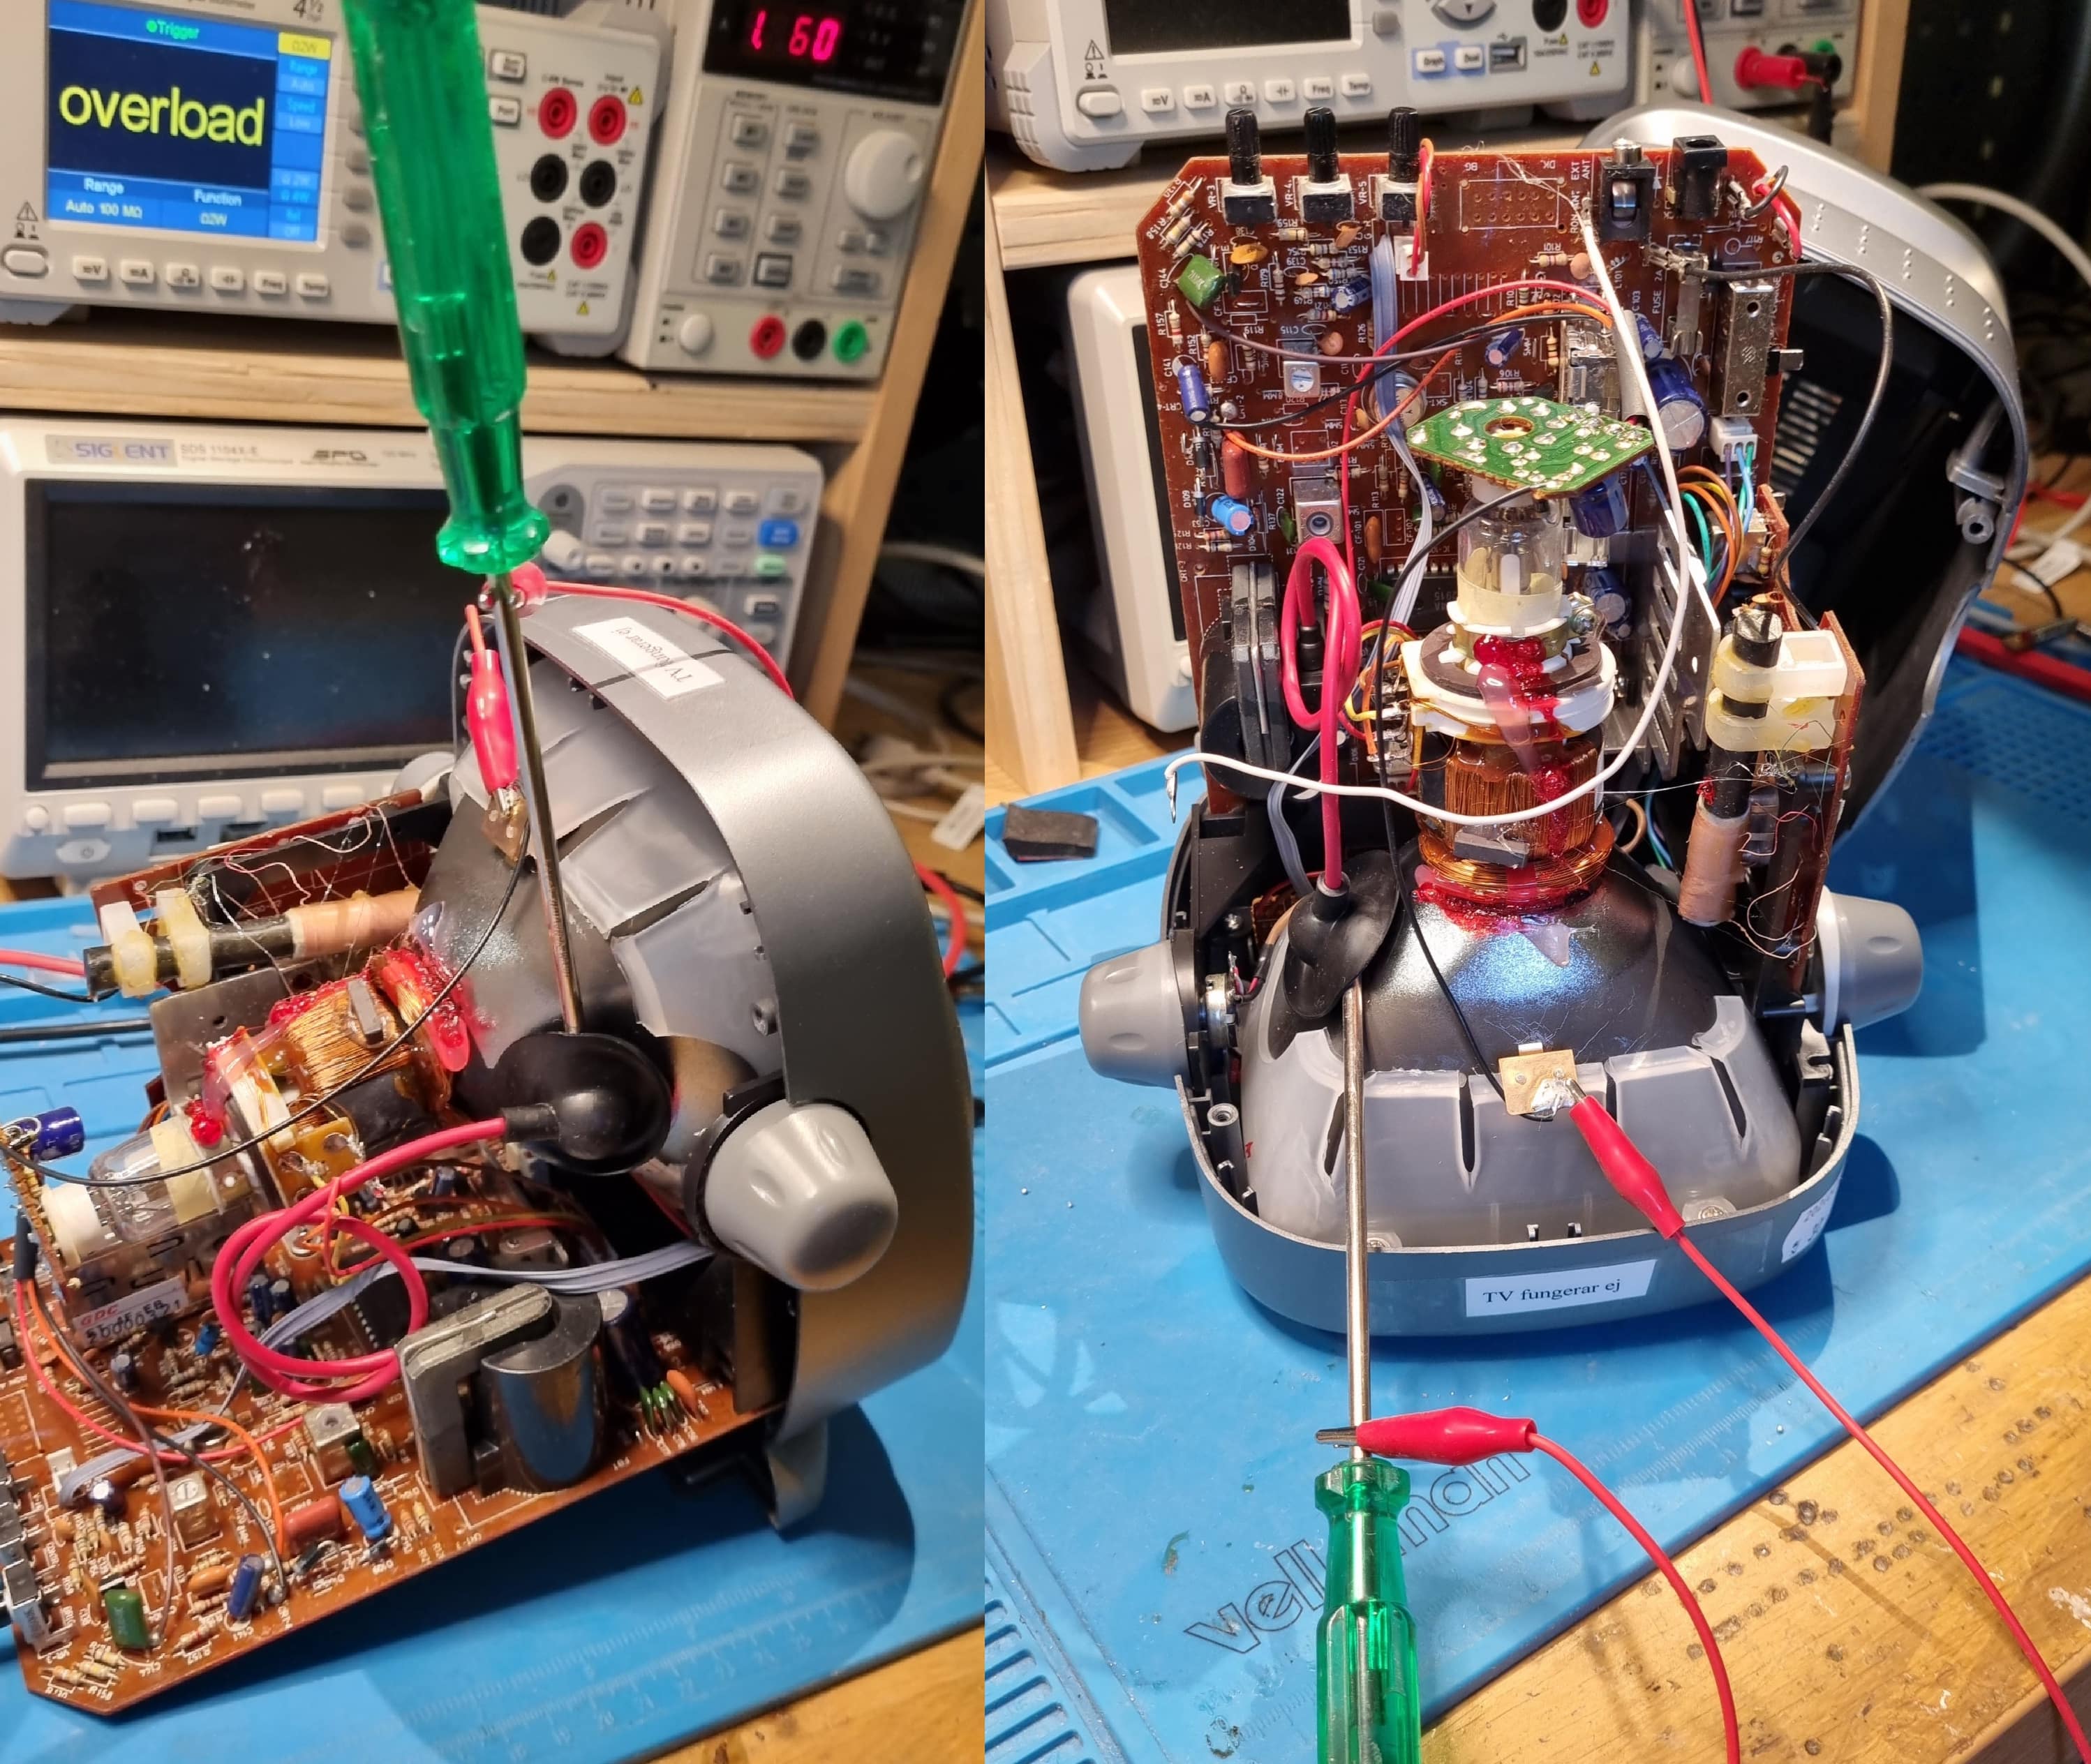
I decided to crack it open and see what was going on inside. You have to be careful with CRTs since they can hold a charge like a capacitor, even after they're turned off, which can be dangerous. Plus, the flyback transformer inside can pump out a few thousand volts—probably less for this little CRT, but still nothing to mess with.
So, the first thing I did was carefully open it up after taking out all the batteries. I discharged the CRT by clipping an alligator clip to my screwdriver, grounding it, and sliding it under the rubber jacket that connects the CRT to the positive terminal. I heard a small pop—that was the charge being safely released.

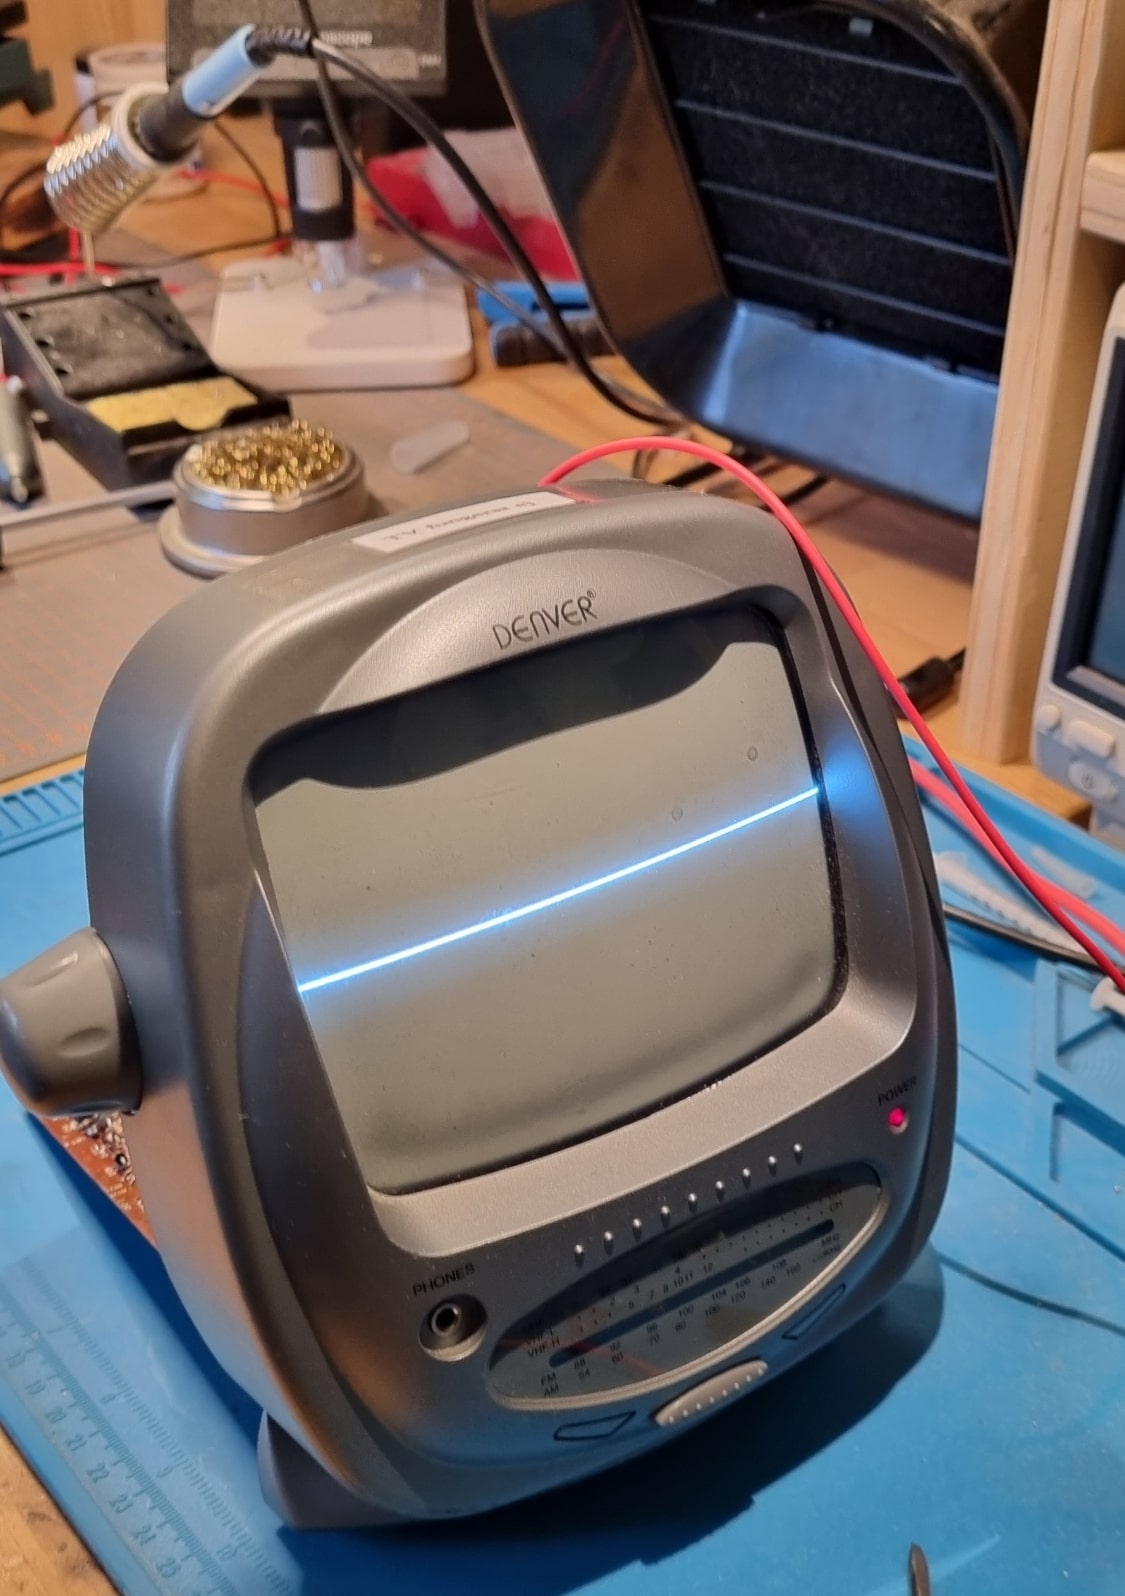
From here, the first step was to identify the deflection coil wires, which control the vertical and horizontal movements of the electron beam inside the CRT. By disconnecting one wire at a time, I could figure out which coil did what. I started by disconnecting one of the wires, which turned out to be the vertical driver, since when I powered the CRT back on, only the horizontal coil was left functioning, meaning the screen was now only scanning horizontally.

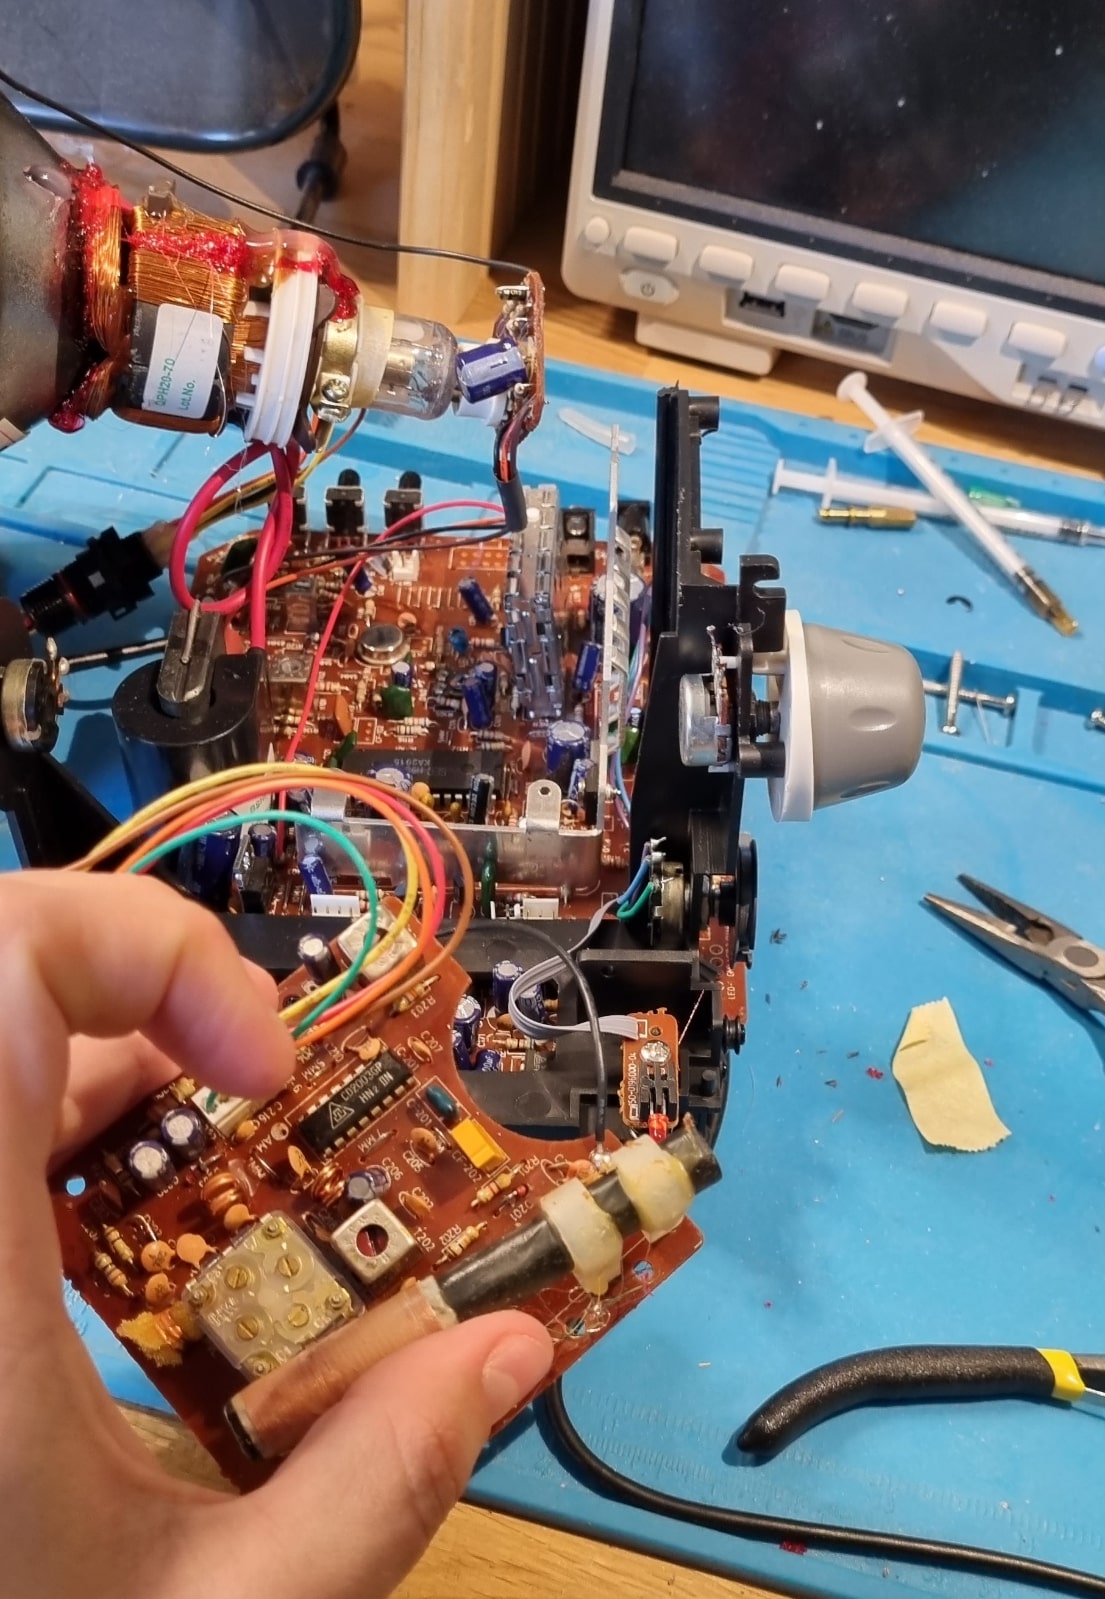
Now that I knew which wires controlled what, I moved on to removing the radio driver board since I didn't need it for my project. It was a simple matter of cutting a few wires and pulling it out. After removing the board, I powered the unit back on just to double-check that everything still worked—and sure enough, it did!
