Restoration of an old Oltronix power supply
A first look
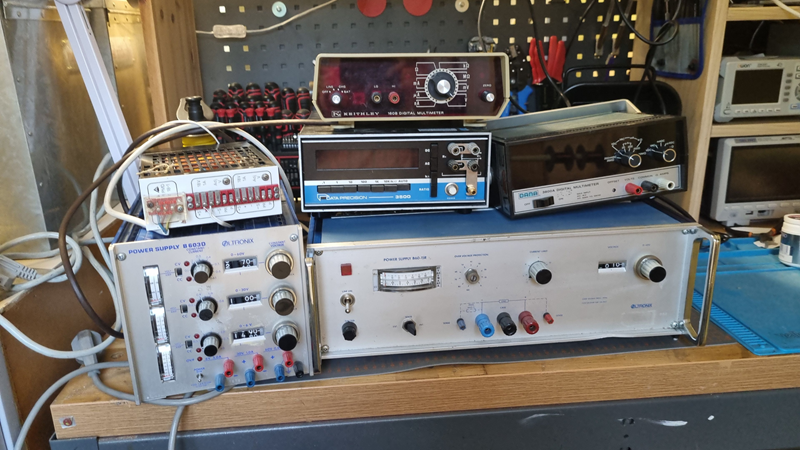
With all the equipment finally in my workshop, I couldn't resist stacking everything together to admire the mountain of gear I'd scored. Even though most of it was a few decades old, the sight was truly satisfying.

I spent the rest of the day giving the large power supply a thorough "once-over" inspection, which is always a good practice with vintage equipment. During the check, I replaced several of the larger electrolytic capacitors. One in particular showed signs of discharge, rust, and leakage. As I continued inspecting, I found that a few capacitors were off by a couple of hundred microfarads from their stated values—definitely outside of spec—so I swapped those out as well.

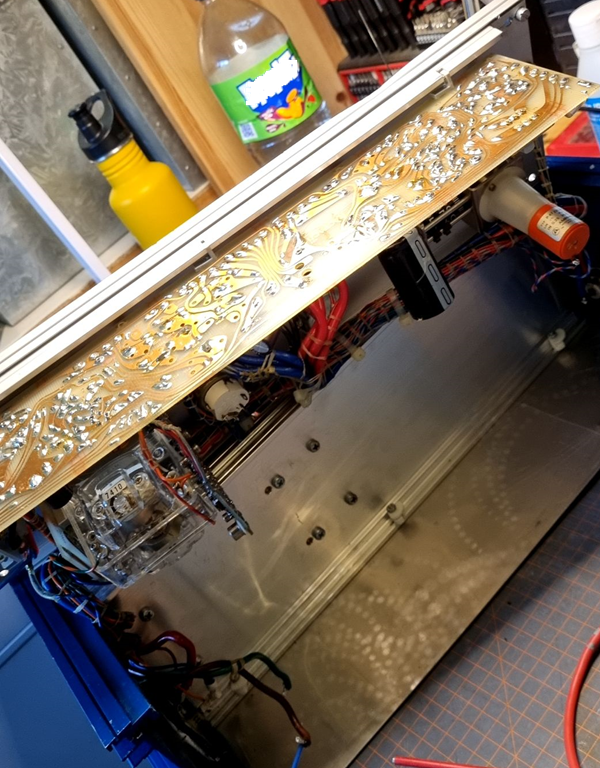
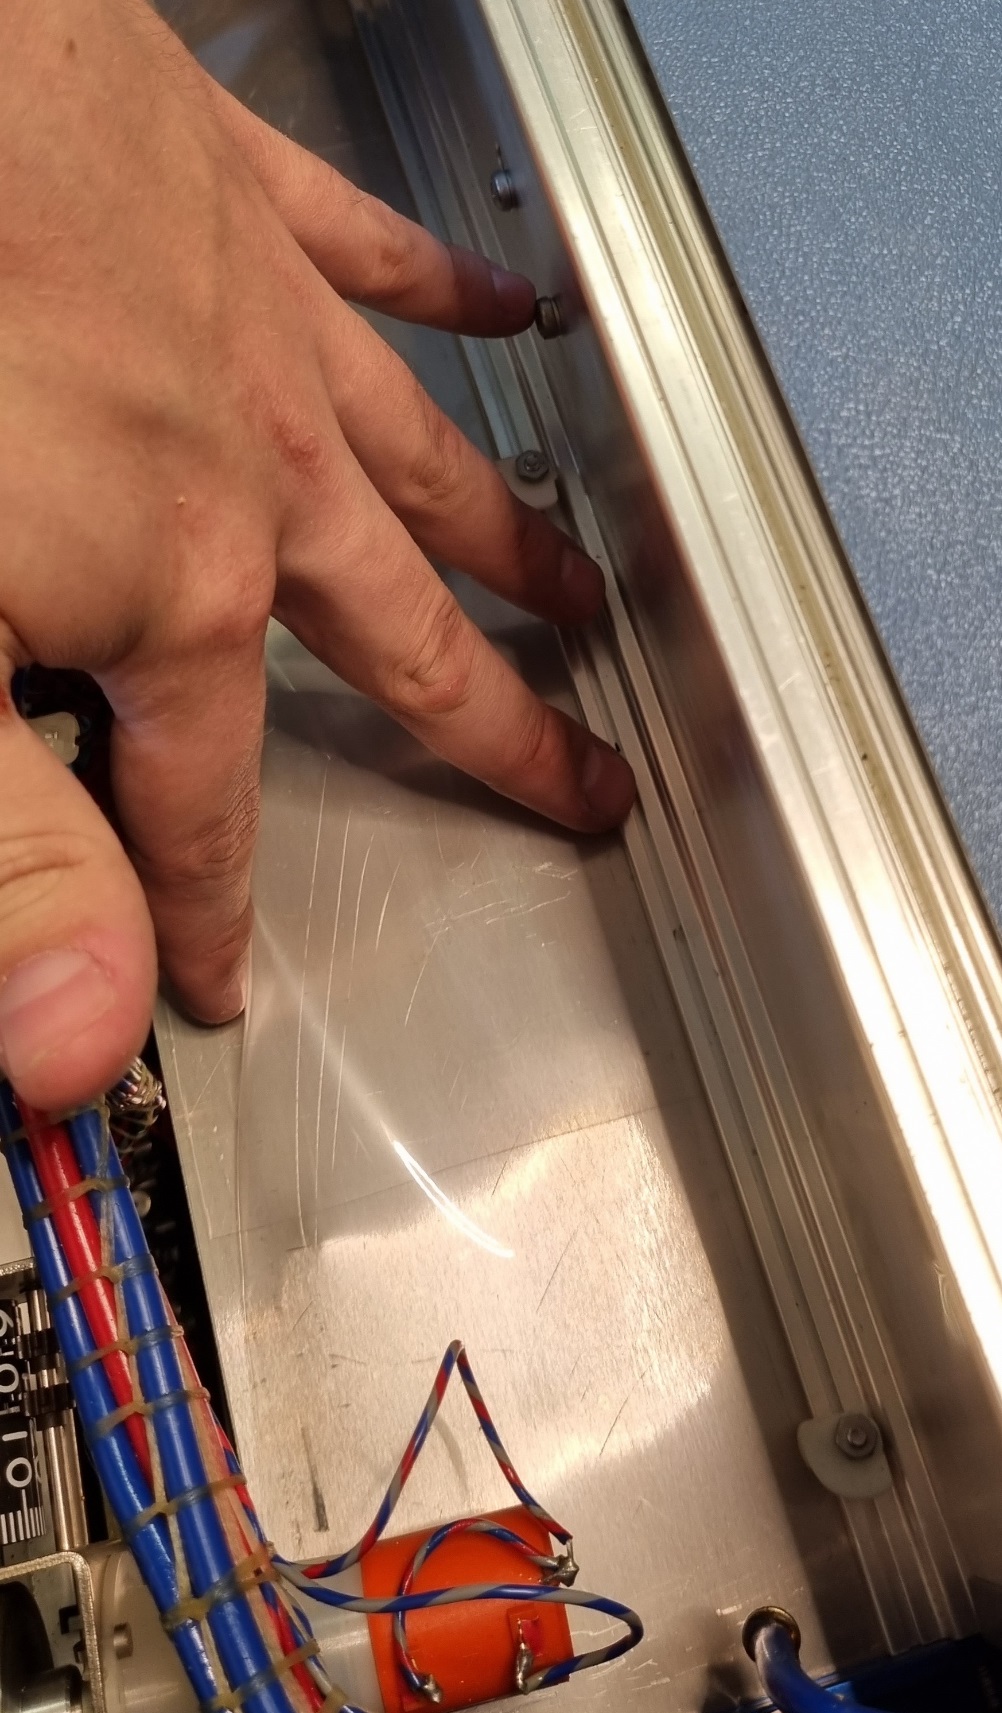
After replacing the capacitors, I started reassembling the power supply when I noticed something concerning: beneath the main board was a plain sheet of metal. This meant that, without proper insulation, the metal could easily contact the underside of the board—potentially causing a catastrophic short if powered on. There was probably supposed to be a plastic insulator, but it looked like someone had removed it at some point.

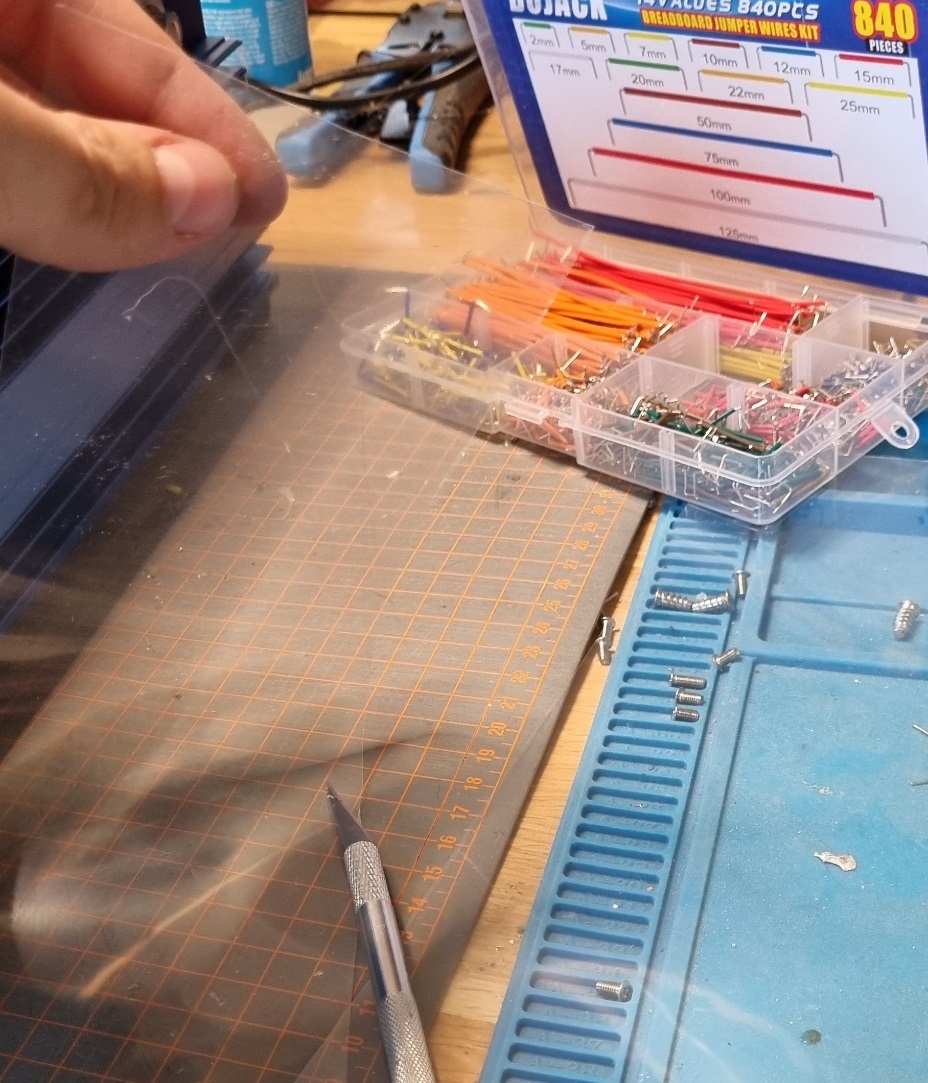
In the image above, you can see the main board fully exposed at the top, and the aluminum sheet at the bottom where it rests. I've already placed a plastic insulator in the picture, as shown; I decided to cut a new plastic sheet to place between the metal and the main board, preventing any risk of shorting to the chassis.

It's a good thing I took the time to give the power supply a full inspection—small details like this can be dangerous and potentially ruin the equipment!

[1]
An unexpected piece
2024-06-25 |
[2]
A first look
2024-06-26 |
[3]
Turning it on
2024-06-27 |
[4]
The Manual
2024-06-28 |
[5]
Leaky discovery
2024-07-06 |